How to Clean a Wood Front Door Like New
Start by evaluating the finish and testing a hidden spot with mineral spirits. Dust and wipe the door top-to-bottom with a soft microfiber, then remove fingerprints and grease with mild dish soap and warm water, rinsing and drying promptly. Lift sap, stickers, or paint spots gently with ice, citrus remover, or rubbing alcohol—test first. Lightly sand and apply wipe-on finish or oil for worn areas. Keep going for step-by-step tips and refinishing options.
Quick How‑To: Clean a Wood Front Door in 10 Minutes
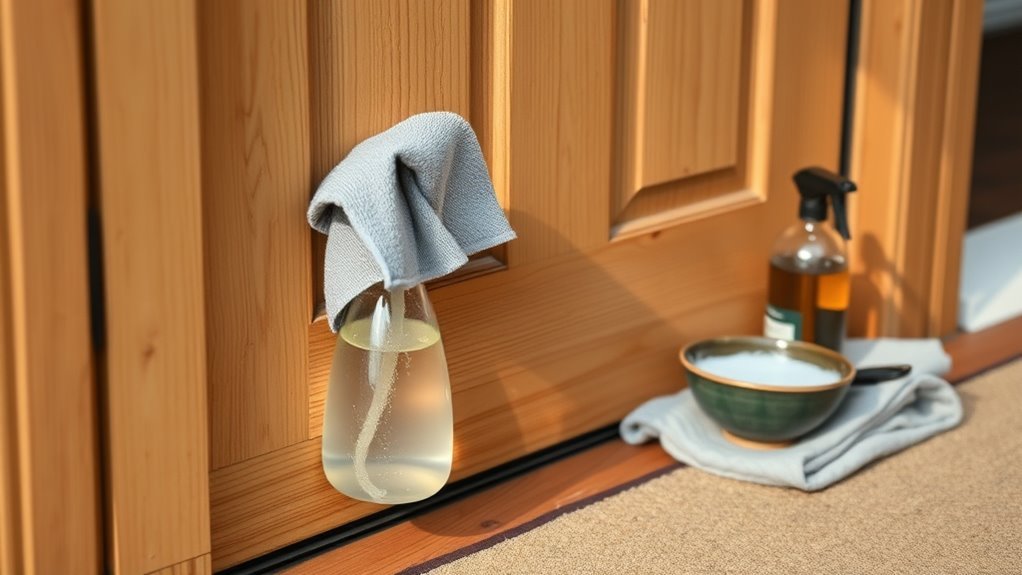
If you’re short on time, you can refresh a wood front door in about 10 minutes with just a few supplies: a soft cloth, mild soap, warm water, and a dry towel.
Start by removing loose dust and cobwebs with a dry cloth. Then mix a small amount of soap in warm water.
Begin by brushing away dust and cobwebs with a dry cloth, then mix mild soap in warm water.
Dip and wring the cloth so it’s damp, not wet, and wipe the door from top to bottom following the grain.
Rinse the cloth and go over the surface to remove soap residue.
Dry thoroughly to prevent water damage, then buff lightly for shine.
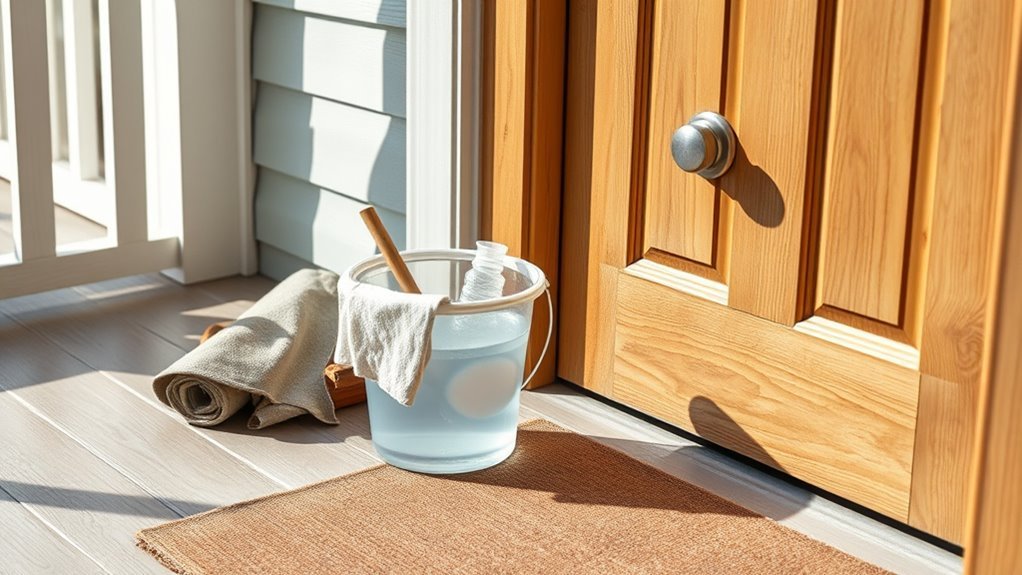
Quick Checklist: Gather Tools and Supplies
Now that you’ve refreshed the door with a quick clean, gather the few tools and supplies that make the rest of the job easier and safer. You’ll need a soft microfiber cloth, a sponge, a bucket, mild wood-safe cleaner, and distilled water to avoid spots.
Add a soft-bristle brush for crevices, a lint-free towel for drying, and a small paintbrush for hardware edges. Keep a mild wood polish or oil on hand if you plan to finish, plus painter’s tape to protect glass and trim.
Wear gloves and eye protection, and set a drop cloth to catch drips.
Assess Your Door’s Finish and Damage Level
Start by identifying whether your door has a clear varnish, paint, stain, or raw wood so you know which cleaners and repairs are safe to use.
Then scan the surface for scratches, peeling, cracks, or water damage that could need sanding, filling, or refinishing.
If you spot significant damage, note it before cleaning so you can choose the right products and techniques.
Identify Finish Type
Before you pick up any cleaners or sandpaper, take a close look at the door’s surface to determine what kind of finish you’re dealing with and how deep the damage goes.
Run your fingers over the grain: a smooth, glossy feel usually means lacquer or polyurethane; a slightly textured, oily feel suggests tung or linseed oil; visible brush strokes or a matte film can indicate varnish or shellac.
Test a hidden spot with denatured alcohol and mineral spirits—alcohol removes shellac, spirits affect polyurethane less.
Note the finish type so you choose compatible cleaners and restoration steps without causing harm.
Inspect Surface Damage
Because the finish type only tells part of the story, inspect the door for specific damage so you can pick the right repair method. Walk the perimeter and look closely under good light. Note any soft spots, peeling, or finish haze. Check edges and bottom for water stains or swelling.
- Surface scratches or scuffs: shallow, can often be buffed or touched up.
- Peeling, flaking, or bare wood: finish failure needs stripping and refinishing.
- Soft, spongy areas or deep cracks: indicate rot; you’ll likely need patching or replacement.
Record findings before cleaning so repairs follow the right steps.
Test Cleaners Safely on a Hidden Spot First
When you try a new cleaner, always test it on an inconspicuous area—like the inside edge or underside of the door—to make sure it won’t discolor, strip the finish, or raise the grain.
Dampen a soft cloth, apply cleaner sparingly, and rub a small patch using the same motion you’ll use on the main surface. Wait several minutes, then wipe dry and inspect under good light for color change, dulling, or texture shifts.
If the spot looks unchanged, proceed. If you see damage, stop and choose a different product or consult manufacturer guidance before treating the visible door surfaces.
Choose Cleaners for Stained or Varnished Wood Doors
If your front door has a stained or varnished finish, pick cleaners that respect that protective layer and won’t strip color or shine. You’ll want gentle, pH-neutral solutions that cut dirt without dulling the surface. Avoid harsh solvents, abrasive powders, or anything labeled as “stripping.”
Test first, then proceed with soft cloths and light pressure. Consider these options:
- Mild dish soap diluted in warm water for regular cleaning.
- Commercial wood cleaners or restorers formulated for varnished surfaces.
- A mix of equal parts water and white vinegar for light grime (spot-test first).
Rinse well and dry to prevent water marks.
Choose Cleaners for Painted or Laminated Doors
Stained or varnished finishes need gentler care, but painted or laminated doors call for different cleaners that won’t harm paint or peel the laminate. Choose pH-neutral, non-abrasive cleaners labeled safe for painted surfaces or laminates.
Avoid solvents, ammonia, bleach, and abrasive powders that dull or strip coatings. Test your cleaner on a hidden spot first to confirm no discoloration or softening.
Use a soft cloth or microfiber and wring it well—excess water can seep under laminate edges. Rinse with a damp cloth to remove residue, then dry thoroughly.
For stubborn marks, use a gentle plastic scraper or a magic eraser sparingly.
Make Gentle Homemade Cleaners for Wood Doors
You can mix a gentle vinegar solution (one part white vinegar to four parts water) to cut grime without harming the finish.
For everyday cleaning, a few drops of mild dish soap in warm water will lift dirt without leaving residue.
Finish by rubbing a little olive oil on a soft cloth to restore shine and repel moisture.
Gentle Vinegar Solution
While vinegar might seem strong, a diluted solution makes an effective, gentle cleaner for sealed wood doors that cuts grease and grime without stripping finish.
Mix one part white vinegar with ten parts warm water in a spray bottle. Test a hidden spot first.
Lightly mist, then wipe with a soft microfiber cloth following the grain. Rinse with a damp cloth and dry immediately to avoid water spots.
- Use diluted vinegar only on sealed or painted surfaces.
- Avoid prolonged soaking or abrasive scrubbing.
- Add a few drops of lemon oil after drying for scent and shine.
Mild Dish Soap Mix
If you want a simple, safe cleaner for most sealed wood doors, mix a few drops of mild dish soap into a quart of warm water to lift dirt and light grime without damaging the finish.
Dip a soft microfiber cloth, wring it until damp, and wipe with the grain, working top to bottom. Rinse the cloth in clean water often to avoid redepositing soil.
For crevices, use a soft-bristled toothbrush dampened with the solution.
Dry the door immediately with a clean towel to prevent water spotting.
Test on an inconspicuous area first to confirm compatibility.
Olive Oil Polish
Although it won’t replace a dedicated wood treatment, a light olive oil polish can revive shine and tame minor scratches on sealed wood doors. You’ll mix a teaspoon of oil with a few drops of lemon juice, apply sparingly, and buff with a soft cloth.
Test first in an inconspicuous spot to guarantee the finish won’t darken. Use gentle circular motions and wipe away excess to avoid sticky residue.
Repeat monthly or as needed for a subtle glow.
- Use high-quality extra virgin olive oil
- Apply with a lint-free microfiber cloth
- Avoid oil on painted or raw wood
Prep the Area and Protect Door Hardware
Before you start cleaning, clear a working space around the door and cover nearby floors and threshold with drop cloths or old towels to catch drips and loosened grime.
Next, protect hardware: remove loose items like kickplates or door knocker if you can, or tape around fixed pieces with painter’s tape to prevent cleaner contact.
Wrap locks, hinges, and electronic keypads with plastic wrap or a resealable bag secured with tape.
Keep a small container for screws and parts.
Finally, open windows for ventilation and set a towel under the door edge to stop water from seeping into the jamb.
Remove Surface Dust, Pollen, and Loose Dirt
Once you’ve prepped the area, start by removing loose dust, pollen, and dirt with a soft-bristled brush or a microfiber cloth to avoid scratching the finish. Work top to bottom, using gentle strokes and overlapping passes so you don’t miss crevices or panel grooves.
Start by removing loose dust and pollen with a soft brush or microfiber, working top to bottom in gentle, overlapping strokes.
Pay attention to thresholds and weatherstripping where debris collects. If pollen’s heavy, step outside and tap the cloth away from the door to avoid re-depositing particles.
- Use a soft brush for grooves and a microfiber for flat panels.
- Brush along the grain, not across it.
- Replace or wash cloths when they get loaded with dust.
Lift Fingerprints, Hand Oils, and Greasy Spots From Wood
When fingerprints, hand oils, and greasy spots show up on your wood door, tackle them promptly with a gentle, oil-cutting cleaner so they don’t attract more dirt or dull the finish. Mix a few drops of mild dish soap with warm water, dampen a microfiber cloth, and wipe along the grain.
For stubborn marks, apply a bit of white vinegar diluted 1:4 with water, test in an inconspicuous spot, then blot gently. Rinse with a clean damp cloth to remove residue and dry immediately.
Finish by applying a small amount of appropriate wood polish or wax to restore luster.
Remove Mud, Pet Marks, and Ground‑In Grime
If mud, pet prints, or ground‑in grime have settled into the grain, loosen them gently to avoid scratching the finish. Use a soft brush or microfiber and a mild soap solution, working with the grain to lift debris. Rinse and blot dry promptly to prevent water staining.
- Mix warm water with a few drops of dish soap; test in an inconspicuous spot first.
- Gently scrub stained areas with a soft-bristled brush, then wipe with a damp microfiber cloth.
- For stubborn spots, repeat the cycle; avoid harsh scrubbing or abrasive pads that damage the finish.
Remove Sap, Paint Splatters, and Sticker Residue
After you’ve lifted mud and grime, tackle sticky residues like sap, paint splatters, and stickers with care so you don’t harm the finish.
For sap, freeze it with an ice cube in a plastic bag, then gently peel or scrape with a plastic card. Wipe remaining tackiness with mineral spirits on a soft cloth, testing an inconspicuous spot first.
For paint splatters, soften with warm, soapy water or a little rubbing alcohol; rub lightly until the spot lifts, avoiding aggressive scraping.
Peel sticker backs slowly; remove adhesive with a citrus-based cleaner, then rinse and dry the area thoroughly.
Treat Water Stains and White Rings on Wood
Start by identifying whether the mark is a surface white ring from moisture or a deeper water stain that’s penetrated the finish.
You can usually remove white rings with gentle heat or a mild abrasive, but deeper stains may need light sanding and refinishing.
I’ll walk you through tests and step-by-step fixes so you can pick the right method.
Identify Stain Type
When you spot pale rings or cloudy patches on your door, they’re usually surface moisture trapped in the finish rather than damage to the wood itself, and knowing that helps you choose a gentler fix first.
Check whether the mark is white (finish-only) or dark (penetrated stain). Lightly press a cloth—if the ring fades, it’s surface; if not, it may be deeper.
Note finish type: varnish, lacquer, or oil respond differently. Also inspect surrounding areas for mold or finish lifting.
Use this quick checklist to identify the stain type before attempting treatment:
- White, cloudy, likely surface-only
- Dark, deep into wood
- Finish compromised or mold present
Remove White Rings
If the ring you found is white and only in the finish, you can usually remove it without sanding the wood itself. First, blot any moisture and dry the area.
Try a gentle heat method: aim a hair dryer on low, moving constantly until the ring fades. If heat fails, apply a small amount of non-gel toothpaste or a paste of baking soda and water; rub gently with a soft cloth in the grain direction, then wipe clean.
For stubborn marks, use a furniture polish containing mineral oil or a commercial finish restorer per instructions. Always test in an inconspicuous spot first.
Remove Mildew and Mold Without Damaging Finish
Because mildew and mold can eat away at wood and finishes, you’ll want to remove them gently but thoroughly so you don’t damage the door’s surface. Start by testing a hidden spot with a mild cleaner: mix one part white vinegar to three parts water or use a few drops of dish soap in warm water.
Because mildew can damage wood, gently test a mild cleaner (vinegar solution or soapy water) on a hidden spot.
Work softly with a microfiber cloth or soft-bristle brush, following the grain. Rinse and dry completely to prevent recurrence.
For stubborn patches, try a diluted hydrogen peroxide spot treatment.
- Ventilate the area and wear gloves.
- Avoid bleach on finished wood.
- Refinish only if staining persists.
When to Sand Small Finish Imperfections
If the finish has small scratches, cloudy spots, or peeling, you’ll want to know when sanding will actually help.
Assess the damage first—light scuffs may just need buffing, while deeper flaws call for sanding and refinishing.
Pick a fine grit and use gentle, even strokes to feather the area without cutting through the finish.
When To Sand?
When you inspect the finish and spot tiny runs, dust nibs, or uneven sheen, it’s time to sand those imperfections before applying another coat. You’ll sand when the surface feels rough to the touch, when finish drips create visible ridges, or when light catches inconsistent gloss.
Use fine-grit sandpaper, work lightly, and keep the area clean.
- Lightly sand raised nibs and ridges with 320–400 grit.
- Feather edges where sheen changes to blend coats seamlessly.
- Wipe with a tack cloth and re-evaluate under good light before recoating.
Assess Finish Damage
As you inspect the door up close, look for small flaws—dust nibs, hairline runs, or patchy gloss—that call for targeted sanding rather than a full strip. Run your hand gently to feel raised particles or rough spots. Shine a light across the surface to reveal uneven sheen or tiny drips.
Note isolated scuffs, thin spots where varnish thinned, or edges that catch fabric. Photograph areas for reference. Decide whether imperfections are localized and shallow; if so, you can smooth and blend just those spots.
Mark them lightly with painter’s tape so you handle only necessary areas.
Choose Grit And Technique
Now that you’ve marked the problem spots, pick sandpaper grit and a method that match the flaw’s depth. Light scuffs need fine grit; deeper scratches require coarser paper and careful feathering. Work with the grain, keep pressure even, and check frequently. After sanding, wipe dust and inspect the finish before refinishing.
- For surface haze or minor scratches, use 320–400 grit and a hand block.
- For shallow scratches, start 220–320 grit, blend with a soft pad.
- For deeper gouges, begin 120–180 grit, finish with finer grits to smooth.
Stay patient; proper grit choice preserves the door’s appearance.
Strip and Re‑Stain a Badly Weathered Wood Door
If the finish on your wood door is peeling, grayed, or deeply stained, you’ll need to strip it down and re‑stain to restore both appearance and protection. Sand or apply a chemical stripper per instructions, work with the grain, and wipe residue clean. Test stain on a scrap or hidden area, then apply evenly with a brush or cloth, wiping excess to avoid blotches. Let dry fully, then seal with an exterior-rated finish (see next section for refresh options). Below is a visual checklist to guide you:
| Step | Image in Mind |
|---|---|
| Strip | Raw wood revealed |
| Sand | Smooth, even surface |
| Test | Small stain patch |
| Stain | Deep, rich color |
| Dry | Matte, cured wood |
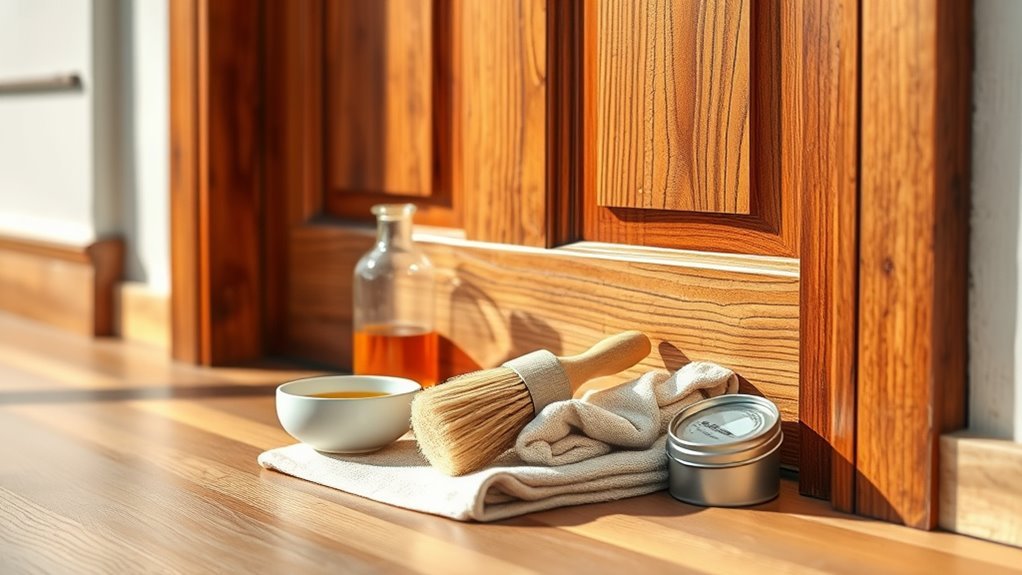
Refresh a Worn Finish: Wipe‑On Poly, Oil, or Wax
When your door’s stain still looks good but the surface feels dry or shows light wear, you can refresh protection quickly with a wipe‑on polyurethane, penetrating oil, or paste wax.
Lightly clean the surface, sand very fine (320–400 grit) to remove sheen, then tack off dust.
Apply thin, even coats per product directions, letting each dry fully.
Choose based on use: poly for durable film, oil for natural depth, wax for low-sheen touchups.
- Wipe‑on polyurethane: quick, clear protection
- Penetrating oil: revitalizes grain, repels moisture
- Paste wax: soft luster, easy spot repairs
Check cure time before heavy use.
Clean and Condition Carved or Recessed Details
After revitalizing the flat surfaces, give carved or recessed details the attention they need—dirt, wax buildup, and trapped moisture hide in crevices and can dull the finish or promote decay.
Use a soft-bristled brush or a toothbrush to loosen debris, working gently along grain and edges. Vacuum or blow out loosened dust, then wipe with a slightly damp, lint-free cloth and a mild wood cleaner.
For dry or tired wood, apply a thin coat of appropriate oil or paste wax with a cotton swab into tight spots, wiping excess so detail remains crisp. Allow proper drying and buff lightly.
Clean Glass Inserts, Grilles, and Sidelights on the Door
Although the wood gets most of the attention, you’ll also want to clean any glass inserts, grilles, and sidelights to let light through and keep the entry looking sharp.
Use a soft, lint-free cloth and a mild glass cleaner or a vinegar-water mix, avoiding harsh ammonia on painted or stained surrounds.
Gently remove dust from muntins and grilles with a soft brush before wiping.
For stubborn spots, dampen a microfiber pad and rub gently, then dry to prevent streaks.
- Dust grilles first
- Clean glass with circular motions
- Dry immediately to avoid streaks
Clean and Polish Door Hardware, Locks, and Kickplates
Before you tackle the wood, give the hardware the care it needs: clean knobs, deadbolts, hinges, and kickplates so they work smoothly and look polished.
Remove loose dirt with a soft cloth and mild soap, rinsing and drying thoroughly.
For brass, copper, or stainless, use a manufacturer-safe metal cleaner or a vinegar-and-water solution; test a hidden spot first.
Lubricate locks and hinges with graphite or a dry silicone spray—avoid oil that attracts grime.
Tighten screws and replace damaged plates or weatherstripping.
Finish by buffing surfaces with a microfiber cloth to restore shine and guarantee reliable operation.
Protect the Door After Cleaning: Sealers and Polishes
Now that the hardware is clean and working smoothly, give the wood its protective finish so your work lasts. Choose a sealer or polish based on finish: clear penetrating oil for matte, spar urethane for durability, or paste wax for light sheen.
Apply thin, even coats, following manufacturer drying times, and sand lightly between coats if instructed. Reattach hardware only after the final coat cures.
- Test product on an inconspicuous spot first.
- Use a lint-free cloth or high-quality brush for application.
- Wipe away drips and buff gently once cured to ensure an even look.
Seasonal Maintenance Schedule to Keep the Door Like New
To keep your wood front door looking its best year-round, set up a simple seasonal checklist you can follow each spring, summer, fall, and winter. Inspect finish, clean dirt, lubricate hardware, and touch up small scratches promptly. Adjust routine for climate: more checks in wet or sunny regions. Use gentle cleaners and reapply protective finish as needed to prevent moisture and UV damage. Keep weatherstripping tight and hinges quiet to extend life. Track tasks on a small calendar or phone reminder so you don’t skip maintenance.
| Season | Key Tasks |
|---|---|
| Spring | Deep clean, inspect finish |
| Summer | UV protection, minor touch-ups |
| Fall | Seal edges, check stripping |
| Winter | Lubricate, clear moisture |
Estimate Time and Cost for Common Cleaning Jobs
You can plan your cleaning by knowing how long each task takes and what it typically costs.
Quick jobs like dusting and spot-cleaning usually take 10–20 minutes and only need household supplies.
While deeper cleaning or refinishing can take a few hours and may require primer, stain, or sealant.
Below I’ll list time estimates per task and a typical cost breakdown so you can budget accordingly.
Time Estimates Per Task
Most common wood front-door cleaning tasks—dusting, washing, spot-treating, and refinishing—have predictable time and cost ranges, so you can plan accordingly. You’ll know what to expect and schedule work without surprises. Typical durations depend on door condition and finish.
- Dusting and light wipe-down: 5–10 minutes; minimal supplies.
- Deep wash and dry: 15–30 minutes; allow extra drying time.
- Spot-treating small scratches or stains: 10–45 minutes depending on repair method.
If you’re refinishing, plan for sanding, staining, and curing over several hours to a couple of days; that’s the most time-consuming step.
Typical Cost Breakdown
Although prices vary by region and door condition, you can expect predictable cost ranges for common wood front-door tasks so you can budget and schedule work confidently.
Basic cleaning with mild soap and water typically costs nothing if you do it; a bucket, sponge, and cleaner run $5–20.
Deep cleaning or mold removal using specialized cleaners is $15–40 in supplies.
Minor touch-ups—sandpaper, stain or varnish—cost $10–60.
Professional cleaning or restoration starts around $75–250 depending on travel and severity.
Sealant or full refinishing supplies usually cost $40–150 if DIY; pro refinish can be $300–800.
Safety and Environmental Cautions for Cleaners
Because many door-cleaning products contain harsh chemicals, take precautions before mixing or applying cleaners. Read labels, wear gloves and eye protection, and work in a well-ventilated area to avoid fumes.
Don’t mix ammonia, bleach, or solvents; they can create dangerous gases.
Protect surrounding plants and surfaces by rinsing runoff into a bucket rather than the garden. Dispose of used rags and leftover solutions per local hazardous-waste rules.
- Wear nitrile gloves and safety goggles.
- Keep children and pets away until surfaces are dry.
- Use biodegradable, low-VOC cleaners when possible.
Troubleshooting: When Stains Won’t Budge
First figure out what kind of stain you’re dealing—water rings, grease, ink, or finish damage—so you can pick the right approach.
Try gentler methods like mild soap or baking soda first, then step up to stronger cleaners or light sanding only if needed.
If the mark still won’t come out or the finish’s ruined, you’ll want to refinish that section or the whole door.
Assess Stain Type
Not sure what that dark spot is or why it won’t lift? You’ll first identify the stain so you pick the right fix. Look closely: age, texture, and smell give clues. Note whether finish looks intact or damaged before proceeding.
- Oil-based (dark, greasy, may darken wood): likely from hands or spills.
- Water or mineral rings (lighter, raised grain, white or gray): often from moisture.
- Mold or tannin bleed (fuzzy or deep brown): shows as spotting beneath finish.
Record what you observe and take a clear photo. That’ll guide safe next steps without guessing.
Gentle-to-Strong Methods
When a simple wipe-down doesn’t remove the mark, work from gentlest to strongest so you don’t damage the finish—start with mild cleaners and soft cloths, then move to stronger solvents or light abrasion only as needed.
Test any product in an inconspicuous spot first.
Try warm soapy water and a microfiber cloth, blotting instead of scrubbing.
For oil or grease, use a small amount of dish soap; for mildew, a diluted vinegar solution.
If that fails, use mineral spirits sparingly on a cotton pad.
For scuffs, a non-gel toothpaste or fine-grade synthetic pad can help.
Rinse and dry thoroughly.
When To Refinish
If you’ve tried gentler cleaners, mild solvents, and light abrasion and the stain still shows through—or the finish is peeling, cloudy, or uneven—it’s time to think about refinishing the door. You’ll strip remaining finish, sand to bare wood, and apply stain or paint plus a protective topcoat.
Assess damage first: deep stains or water rings may need wood bleach or replacement of small sections. If you’re unsure, test a small area.
For professional results, hire a finisher. Basic steps include:
- Strip old finish thoroughly
- Sand progressively to smooth grain
- Apply stain/sealer and durable topcoat
How to Choose a Pro and When to Call for Help
Wondering whether to tackle a stubborn stain or call a pro? You know your skill level and time. Call a pro if damage is structural, finish is peeling extensively, or repairs need power tools. Hire someone with reviews, insurance, and a clear estimate. Ask about cleanup, materials, and warranty.
| Situation | Call a Pro If | DIY Possible If |
|---|---|---|
| Deep gouges | yes | no |
| Finish failure | often | spot repair |
| Hardware issues | yes | basic tightening |
| Stains | sometimes | surface-only |
Get at least three quotes, check references, and don’t hesitate when safety or preservation is at risk.
Frequently Asked Questions
Can Pressure Washing a Wood Front Door Be Safe?
Yes, it can be safe if you use a low-pressure setting, keep the nozzle at least a foot away, avoid direct spray into joints or hardware, and test a small hidden area first to prevent damage to finish or wood.
How Do I Prevent Insect Damage Around the Door Frame?
Seal gaps and cracks with caulk, keep vegetation trimmed, apply insecticide or borate-treated wood, maintain weatherstripping, fix leaks, and use door sweeps. Check annually for rot or tunnels so you catch infestations early.
Will Exterior Door Wraps or Veneers Affect Cleaning Methods?
Yes — door wraps and veneers change cleaning: you’ll avoid harsh solvents, abrasive pads, and high-pressure washing. Use mild soap, soft cloths, and test a hidden spot first to prevent lifting, discoloration, or edge peeling.
Can I Use Automotive Scratch Removers on Door Finishes?
You can sometimes use automotive scratch removers on door finishes, but you should test a hidden spot first; if the finish’s softer than automotive paint it may dull or remove the topcoat, so proceed gently with compatible products.
How Does Humidity Affect Door Finish Longevity?
Humidity shortens finish life by swelling and contracting wood, causing cracks, blistering, and flaking; you should control indoor moisture, use proper seals and finishes, and inspect seasonally so you can prevent moisture-related damage and prolong the finish.
Conclusion
You’ve now got a quick, practical plan to make your wood front door look like new without wrecking the finish. Gather the right supplies, test cleaners in a hidden spot, and match your method to the door’s stain or varnish. Spend ten minutes on routine cleaning; allow more time for tough stains or repairs. Use safer, labeled products, and call a pro if damage’s extensive—you’ll save time and avoid costly mistakes.